Installing Xcode
The first step on the road to building apps is installing the development environment.
At the very beginning, many people rush to install Xcode from the AppStore, and for solo development of your first
app that’s perfectly acceptable.
But you and I are focusing on team development, so we’ll need to follow some conventions and rules.
Xcode is the one and only development environment you can’t go without when building apps. Even if you find yourself
a nicer text editor, you can’t get by without Xcode installed.
Sadly, about a year ago JetBrains stopped developing their tool — AppCode — but even it required Xcode to be
present on your machine.
Xcode itself is very sensitive to the project’s housekeeping files located under .xcworkspace and .xcodeproj, so
it’s important that every developer on your team has the same version installed. This will help you avoid
non-reproducible errors when debugging the app on different machines.
Installing via the AppStore isn’t the best solution:
- Only the very latest version will be available to you.
- After updating, you won’t be able to roll back to a previous version.
- Oddly enough, such an install can drag on for several hours and even fail. Such complaints aren’t limited to
Reddit— I’ve been through similar experiences myself.
A more correct, if less convenient, solution is to download the archive from developer.apple.com and install it by hand. But we’re still interested in automation.
Over the past few years, and at the time of writing this post, the current solution is the xcodes1 utility.
It lets you install a specified version of Xcode from the command line. And if you need to (no doubt about it — you will
need to), you can have several versions installed in parallel on the same machine:
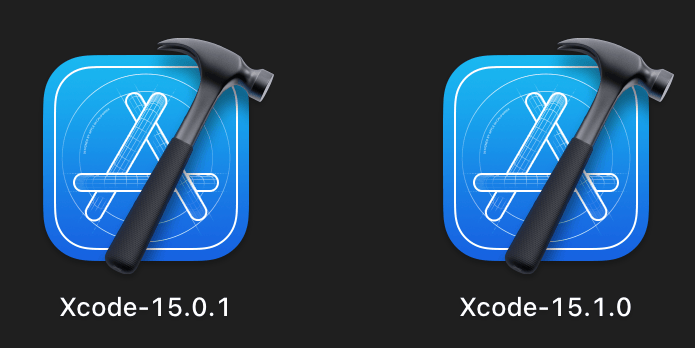
There’s also a graphical client, XcodesApp2, that lets you install the versions you need with a mouse. You
can use it, but when we get to automating the configuration of CI nodes we’ll need the command-line version anyway.
Using the xcodes utility is fairly simple.
Below I’ll list a few commands you’ll be using most often.
List of Xcode versions available to install:
xcodes list
...
15.0 Beta 7 (15A5229h)
15.0 Beta 8 (15A5229m)
15.0 (15A240d)
15.0.1 (15A507) (Installed)
15.1 Beta (15C5028h)
15.1 Beta 2 (15C5042i)
15.1 Beta 3 (15C5059c)
15.1 (15C65) (Installed, Selected)
15.2 Beta (15C5500c)
List of currently installed versions:
xcodes installed
15.0.1 (15A507)         /Applications/Xcode-15.0.1.app
15.1 (15C65) (Selected) /Applications/Xcode-15.1.0.app
Installing and selecting a new version:
xcodes install --select 15.1
Showing the currently “selected” version of Xcode:
xcodes select
To make it easier for you and your colleagues to understand which version you’re using during development, maintain a .xcode-version3 file at the root of your project, next to .xcworkspace and .xcodeproj.